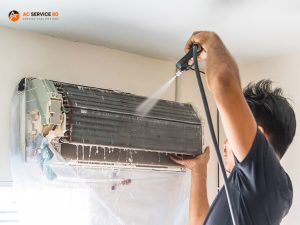
Installing an air conditioner involves several steps and requires a good understanding of electrical systems, refrigerant handling, and AC Service BD principles. Due to the complexity and potential safety risks, it’s often recommended to hire a licensed AC Service BD professional for AC installation. However, if you have the necessary skills and experience, here is a general guide for installing a split-type air conditioner, which consists of an indoor unit and an outdoor unit:
Tools and Materials Needed:
Split air conditioner kit (indoor unit, outdoor unit, and connecting pipes)
Mounting bracket for the outdoor unit
Drilling machine and bits
Screwdriver
Level
Pipe wrench
Vacuum pump
Refrigerant gauges
Copper tubing and insulation
Installation Steps:
1. Choose the Installation Location:
Select a location for the indoor unit on an interior wall where airflow is not obstructed. Ensure it’s away from direct sunlight and heat sources.
2. Install the Mounting Bracket:
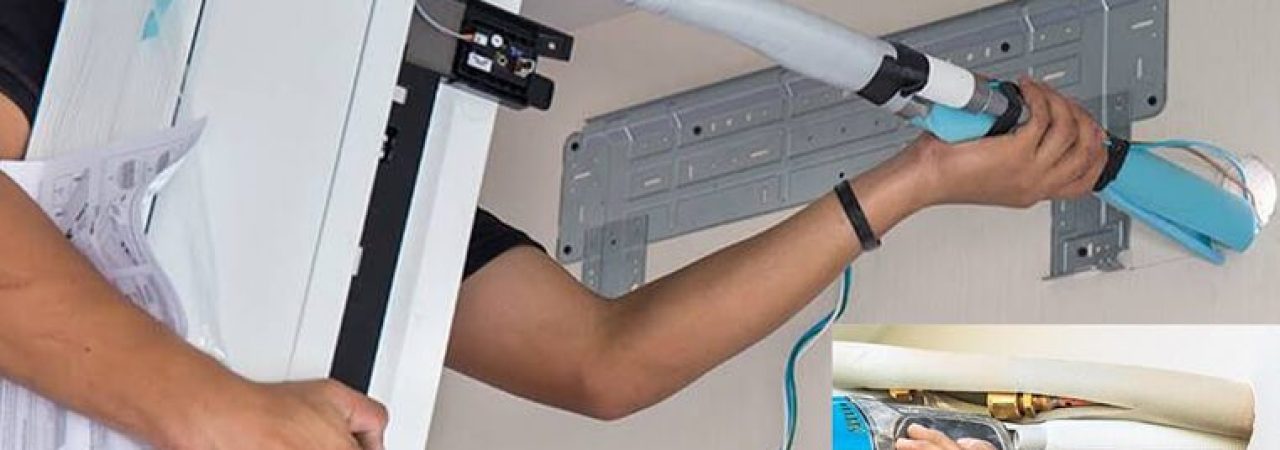
Use the drilling machine to install the mounting bracket for the indoor unit. Ensure that it is securely fastened and level.
3. Install the Indoor Unit:
Mount the indoor unit on the bracket according to the manufacturer’s instructions. Connect the electrical wires, drain pipe, and refrigerant lines as specified.
4. Install the Outdoor Unit:
Choose a location for the outdoor unit that is well-ventilated and provides sufficient space. Install the outdoor unit on a flat surface using the mounting hardware provided.
5. Connect the Refrigerant Lines:
Connect the refrigerant lines between the indoor and outdoor units. Use a pipe wrench to tighten the connections securely.
6. Install the Condensate Drain Line:
Connect the condensate drain line from the indoor unit to ensure proper drainage of condensate water.
7. Electrical Wiring:
Connect the electrical wiring following local electrical codes and the manufacturer’s instructions. Ensure that the power supply matches the unit’s specifications.
8. Vacuum Pump and Refrigerant Charge:
Use a vacuum pump to evacuate air and moisture from the refrigerant lines. After evacuating, charge the system with the correct amount of refrigerant using refrigerant gauges.
9. Insulate the Copper Tubing:
Wrap the copper tubing with insulation material to prevent energy loss and ensure efficient cooling.
10. Test the System:
Turn on the air conditioner and test the cooling and heating functions. Check for any unusual noises, leaks, or performance issues.
11. Seal Openings:
Seal any openings or gaps around the indoor and outdoor units to prevent air leaks.
12. Provide User Instructions:
Provide the user with instructions on operating the air conditioner, including the use of remote control and maintenance tips.
Remember, this is a general guide, and the specific steps may vary based on the manufacturer’s instructions and the type of air conditioner you have. If you are not comfortable with any part of the installation process or if you need to install a central air conditioning system, it’s highly recommended to seek the services of a licensed AC Service BD professional to ensure safety and compliance with local regulations.

